
{[[' ']]}
']]}
']]}
Hello friend's,
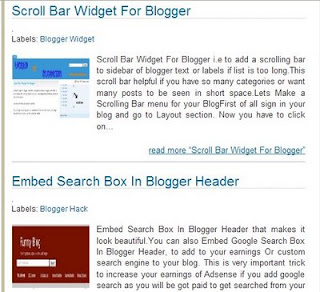
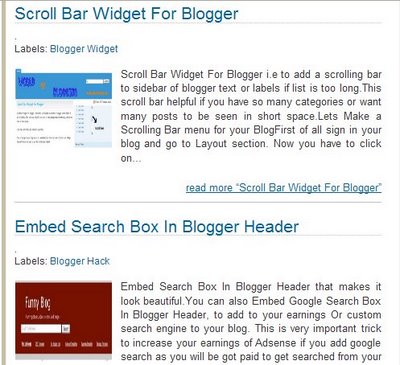
Today i am going to show you how to add auto read more widget for blogger with thumbnail. In some of the blogger template it is already installed, but in some blogger it is not. Auto read more widget, summarizes your post in the blog and than show it to your home page. It gives clean look to your blog.
If you have added an image to your post than it will create an thumb image with your summerize post. As you can see a demo in the image below.
So how to add this auto read more widget with thumbnail. Here are the simple steps:-
Just above paste this code Today i am going to show you how to add auto read more widget for blogger with thumbnail. In some of the blogger template it is already installed, but in some blogger it is not. Auto read more widget, summarizes your post in the blog and than show it to your home page. It gives clean look to your blog.
If you have added an image to your post than it will create an thumb image with your summerize post. As you can see a demo in the image below.
So how to add this auto read more widget with thumbnail. Here are the simple steps:-
- Go to Blogger>>Dashboard>>Template>>Edit HTML
- Press ctrl+f and find </head>
<script type='text/javascript'>var thumbnail_mode = "no-float" ; summary_noimg = 430;
summary_img = 340;
img_thumb_height = 100;
img_thumb_width = 120;
</script>
<script type="text/javascript">
//<![CDATA[
function removeHtmlTag(strx,chop){
if(strx.indexOf("<")!=-1)
{
var s = strx.split("<");
for(var i=0;i<s.length;i++){
if(s[i].indexOf(">")!=-1){
s[i] = s[i].substring(s[i].indexOf(">")+1,s[i].length);
}
}
strx = s.join("");
}
chop = (chop < strx.length-1) ? chop : strx.length-2;
while(strx.charAt(chop-1)!=' ' && strx.indexOf(' ',chop)!=-1) chop++;
strx = strx.substring(0,chop-1);
return strx+'...';
}
function createSummaryAndThumb(pID){
var div = document.getElementById(pID);
var imgtag = "";
var img = div.getElementsByTagName("img");
var summ = summary_noimg;
if(img.length>=1) {
imgtag = '<span style="float:left; padding:0px 10px 5px 0px;"><img src="'+img[0].src+'" width="'+img_thumb_width+'px" height="'+img_thumb_height+'px"/></span>';
summ = summary_img;
}
var summary = imgtag + '<div>
' + removeHtmlTag(div.innerHTML,summ) + '</div>
';
div.innerHTML = summary;
}
//]]>
</script>
<b:if cond="data:blog.pageType == "static_page"">
<data:post .body="">
<b:else>
<b:if cond="data:blog.pageType != "item"">
<div expr:id=""summary" + data:post.id">
<data:post .body=""></data:post></div>
<script type="text/javascript">createSummaryAndThumb("summary<data:post.id/>");
</script> <span class="rmlink" style="float: right; padding-top: 20px;"><a expr:href="data:post.url" href="http://www.blogger.com/null"> read more "<data:post .title="">"</data:post></a></span>
</b:if>
<b:if cond="data:blog.pageType == "item""><data:post .body=""></data:post></b:if>
</b:else></data:post></b:if>
HAPPY BLOGGING!


+ comments + 2 comments
okay, finally this is really a great one. thank you
Human resources degree online
Thank you for presenting the article very interesting to read, A great site to visit. The content and reviews can convey more about this topic.I think its a great post for everyone.
Cheap Essay Writing Service
Post a Comment